 Here is a new tutorial for all the drawing lovers. In this tutorial, we will make a quick sketch, scan the sketch, and convert it into Photoshop. Then the fun will begin. Drawing a portrait is not very simple, but with some knowledge you can achieve a lot. The end result may not look exactly like the person you are trying to draw, but the important thing is to do the best you can and make the eyes, mouth, or nose look similar to your subject.
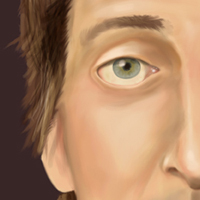
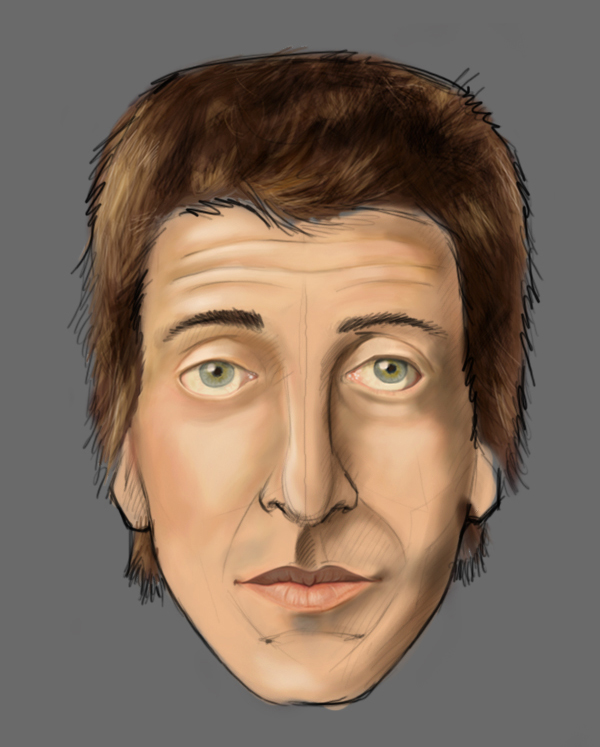
Final Image Preview

Step 1
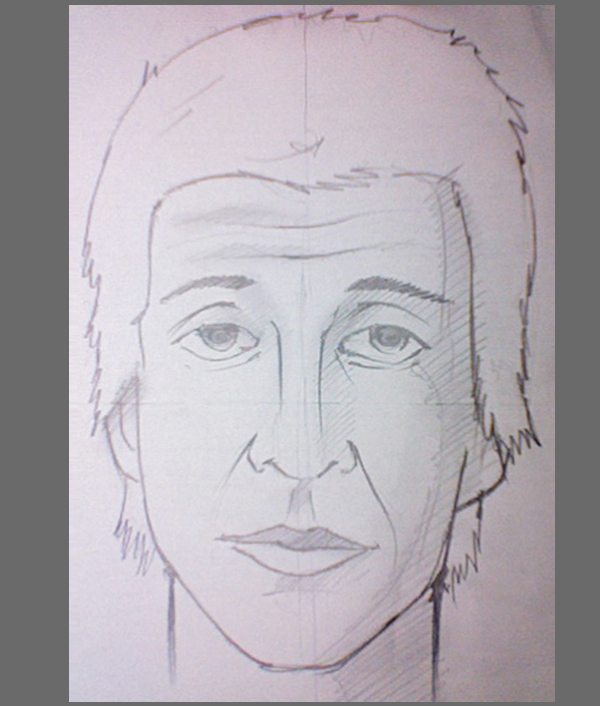
First of all you need to make a rough sketch, scan the image and import it into Photoshop.
Step 2
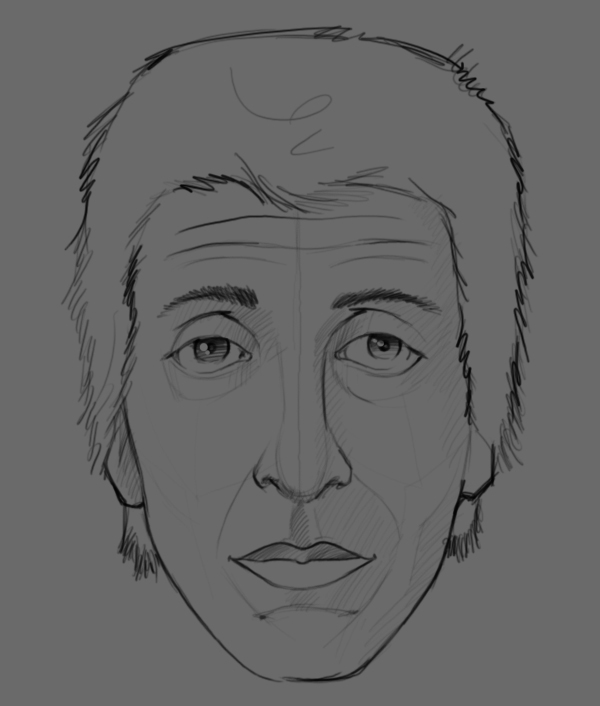
Next, create a new transparent layer over the sketch (name it "sketch"). Then using a small brush, draw the sketch again, but this time make it more accurate.
Step 3
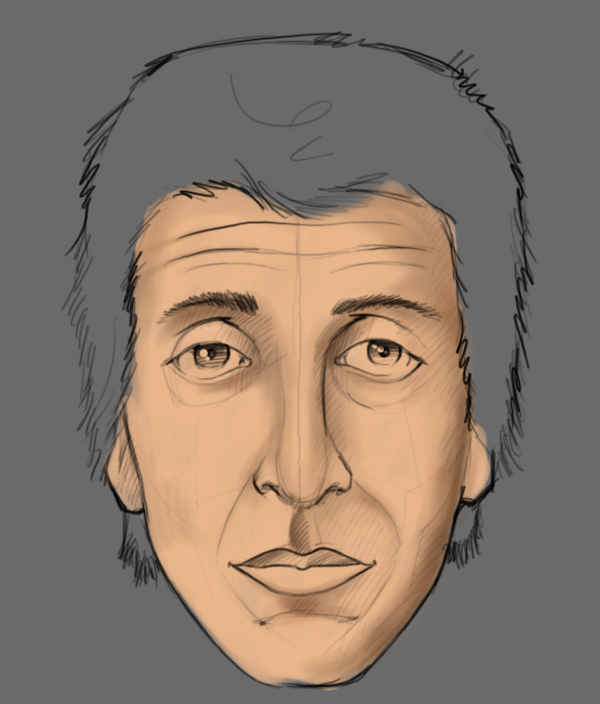
Create a new layer and place it below the "sketch" layer and name it "color." Using a soft brush draw the color over the face, using this code: #e9b68b.

Step 4
According to the light source angle (which is in the top-left), draw some shading using a soft Brush (B). This time use the same color but give it a slightly darker touch.
Step 5
Reduce the brush opacity and continue to darken the shadows some more.
Step 6
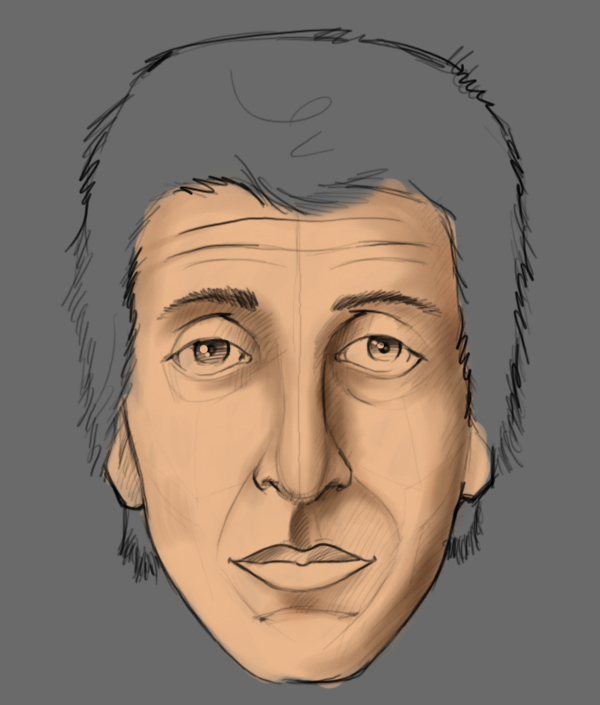
Mix the color and the shadow with the Smudge Tool (R), which results in a nice transition between the face color and shadow.
Step 7
It's time to add the hair color. Use the same brush that you did for the face, but this time use color #3c210f.
Step 8
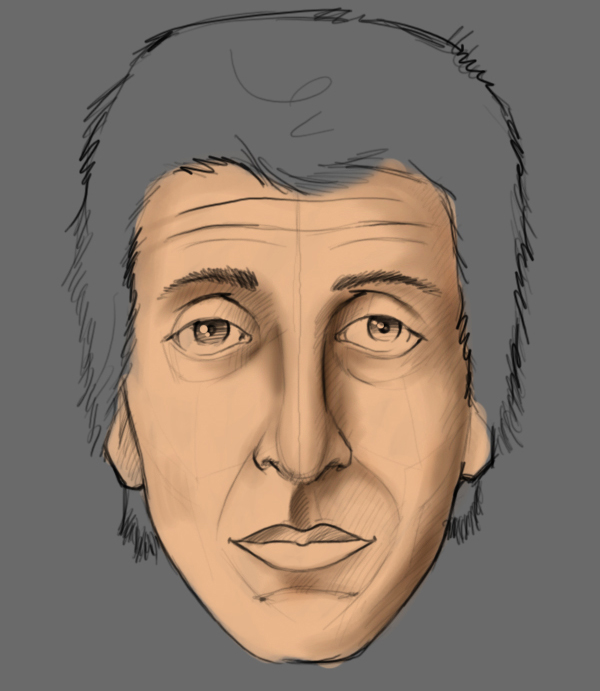
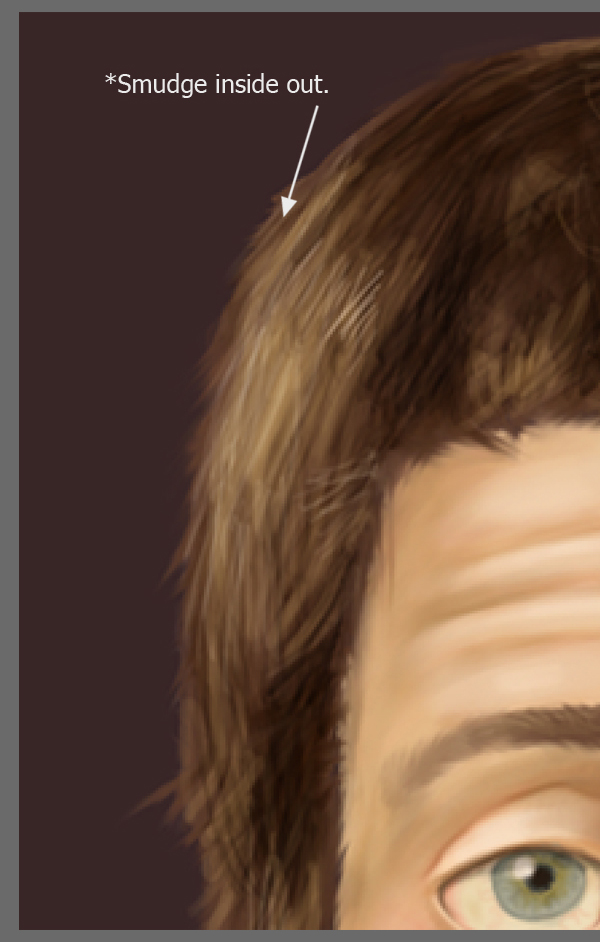
It is time to add some details to the hair. Draw thin lines, each in different directions. Use a darker (#9f815d ) and a lighter color (#1e0d05) for this. With the help of the Smudge Tool (R) and the Opacity set to 20, smudge the thin hair you just created. This will help you make the hair more realistic.
Step 9
You need to draw thin lines along all the head part until you get something similar to the image below.
Step 10
For this step you need to start adding the light on the face. Select a soft brush and also lower the Opacity of the brush. This will help you create the light effect gradually. After you are set with the brush, start adding some light using the color #ffdebb.
Step 11
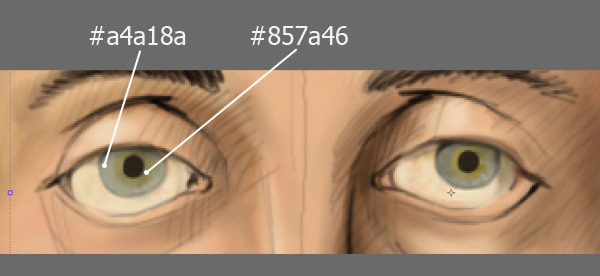
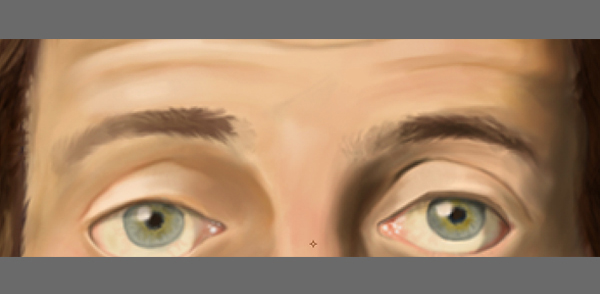
It is time to work on the eyes now. Color the iris of the eye and the white side with these colors: #edddb9 and #797866.
Step 12
Add some more color and details to the eyes.
Step 13
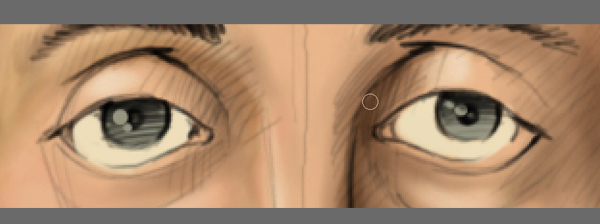
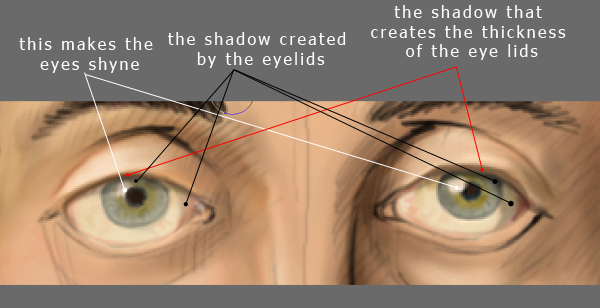
Make the eyes shiny by placing some light on them. Also, create some shadow over them. You need to create the thickness of the eyelid by drawing some shadow on the lower side of the eyelids.
Step 14
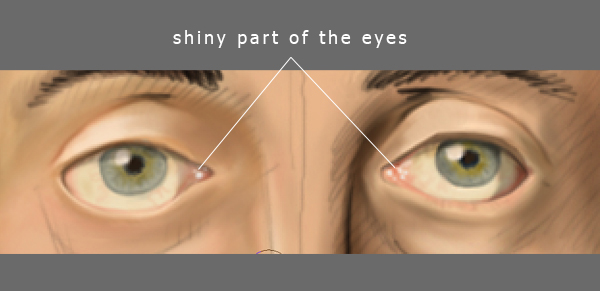
Slowly erase the sketch and add some more light on the eyes.
Step 15
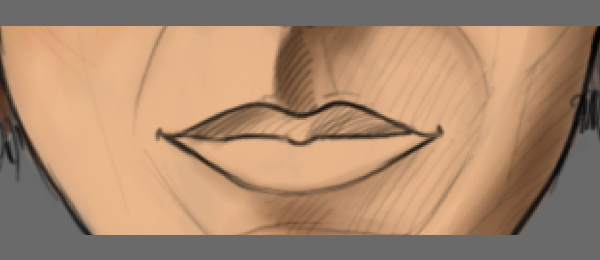
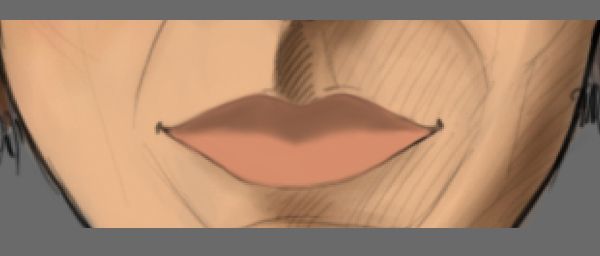
Next, work on the mouth.
Step 16
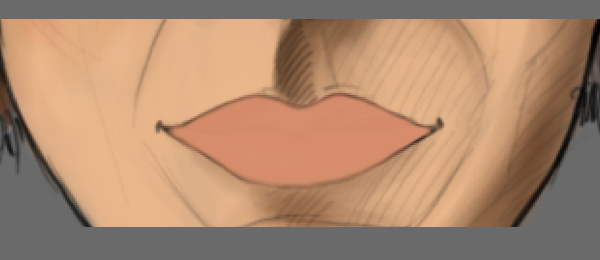
For the lips I used this color #d58b6a.
Step 17
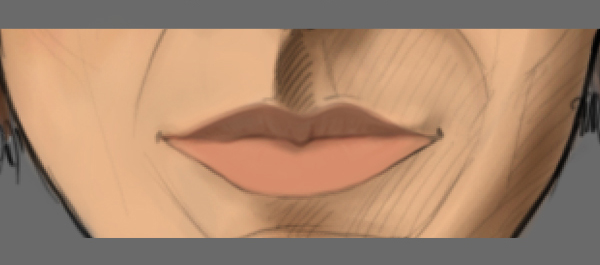
The upper lip is darker then the lower one because the upper lip is where you need to draw the shadow. The color used is: #8f6048
Step 18
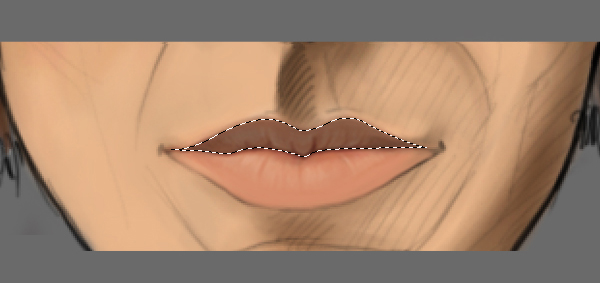
To bring more realism to the lips you need to draw some darker lines over the upper lip using a small brush. Also you need to smudge the lines.
Step 19
Same as you did with the upper lip you need to do with the lower lip, but this time use lighter colors to make the lip shiny. Also, you need to make a selection around the upper lip and use the Burn Tool (O) to add some more details.
Step 20
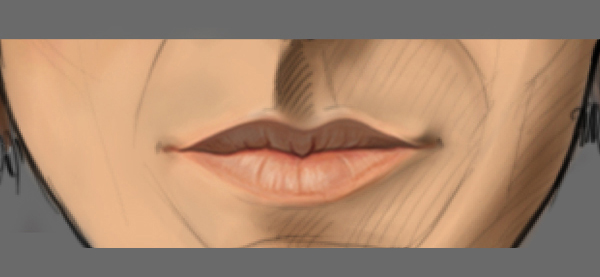
Repeat the burning process over the lower lip. Also, draw some more lines and make the textured lip detail and gradually erase the sketch.
Step 21
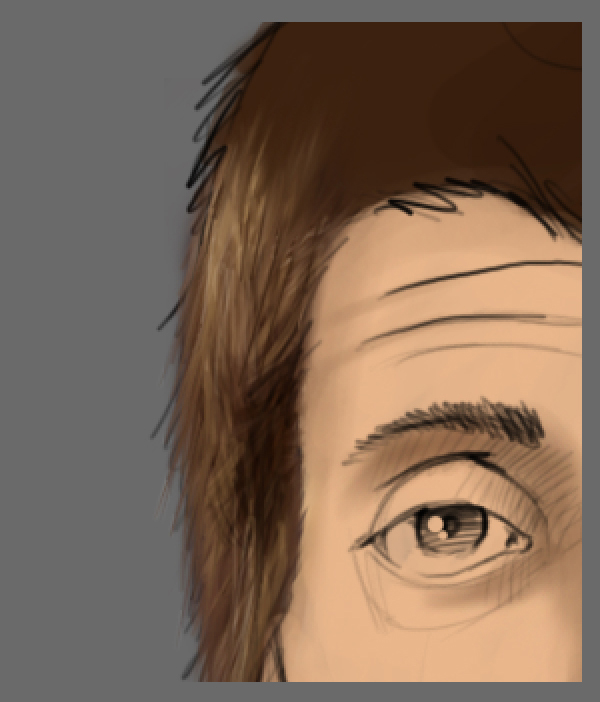
Refine the eye wrinkles and eyebrows with a low opacity Burn Tool (O), then smudge them as we did with the hair.
Step 22
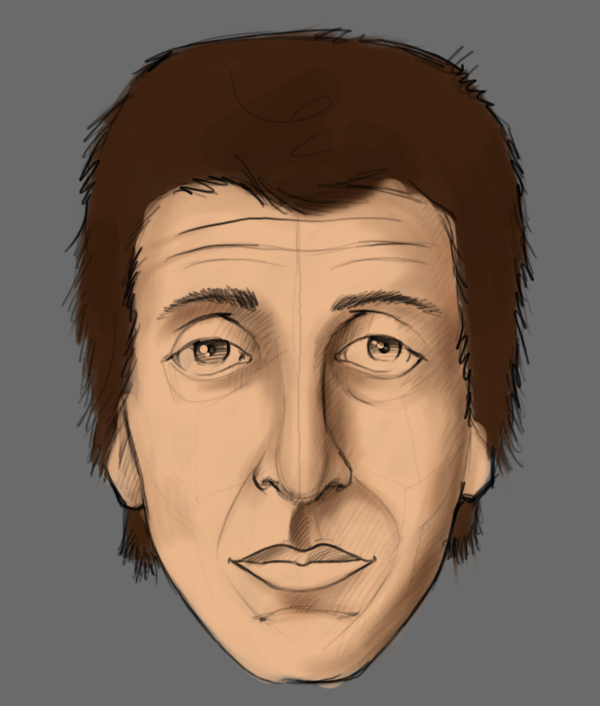
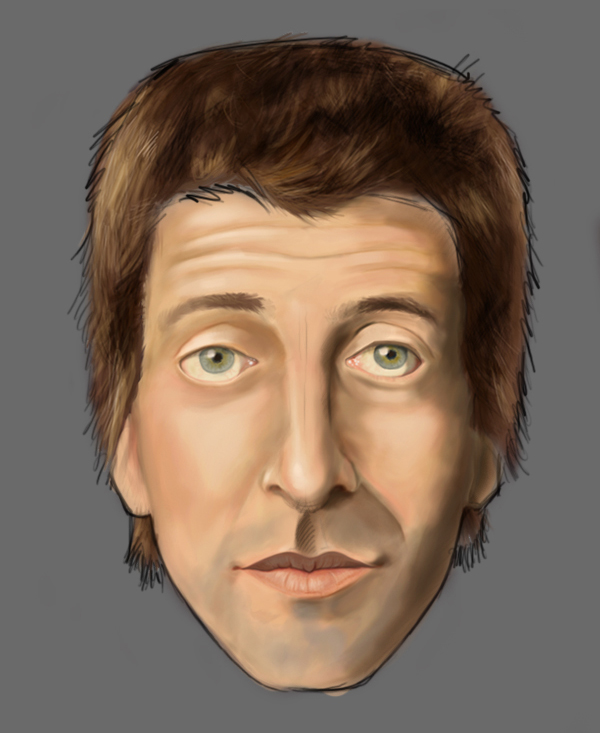
Add a little red to the cheeks (#e6986e), to make it more human and some grey for the beard. Start drawing the beard with a soft brush set to a low opacity and then use the Smudge tool to mix the colors. The color for the grey is #908478. Also, as you can see, I have added some more shadow on the face.
Step 23
These last steps are the finalizing steps. Erase the sketch and Smudge the tips of the hair to create some volume.
Step 24
Smudge the skin and the eyebrows.
Step 25
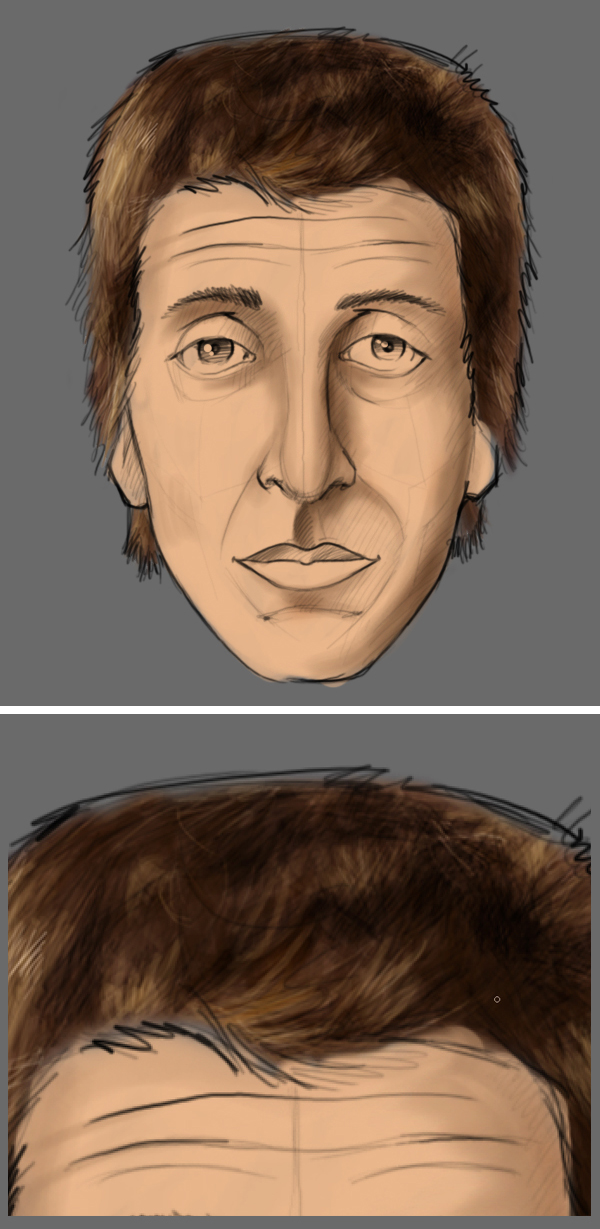
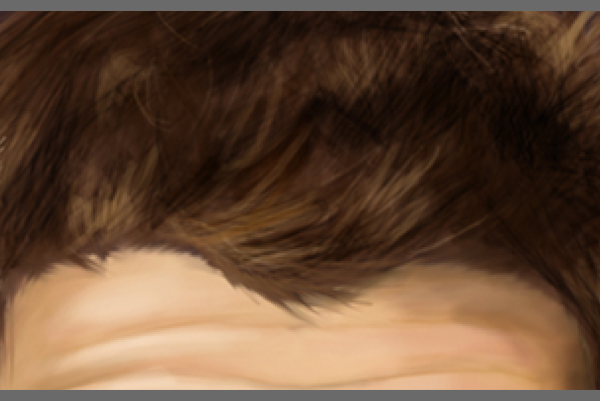
Smudge the forehead skin color over the hair to create the hair roots.
Step 26
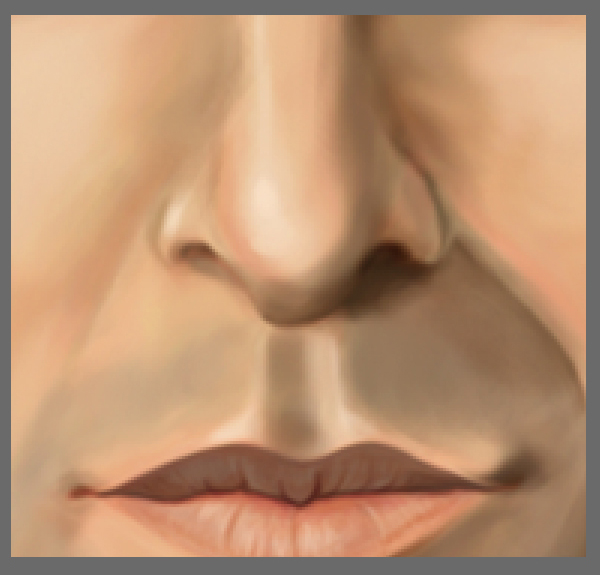
Add some light on the nose and the area under the nose. This will make them shine.
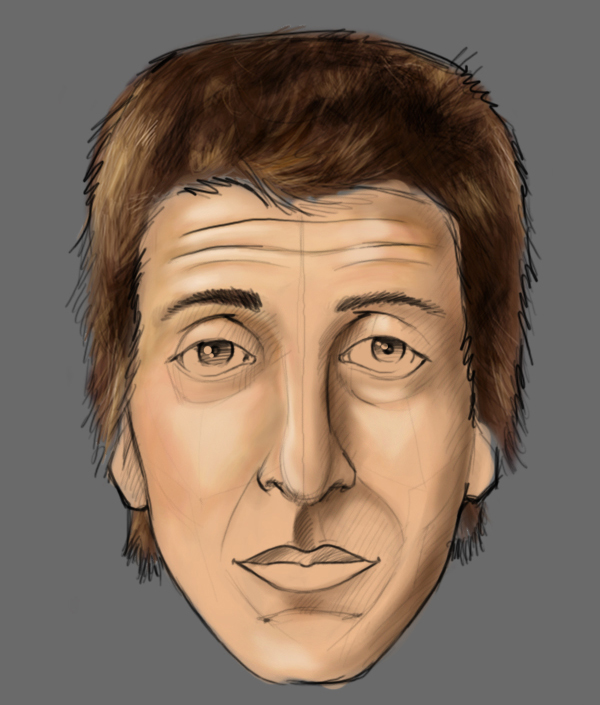
Conclusion
You are finished with the face. Place a nice background or maybe fuse your portrait into one of your illustrations. You can view the final image below or view a larger version here.


No comments:
Post a Comment