 In this tutorial we will be creating a horizon of Floating air balloons . During the process i will also show you how to create the starburst background which you can repeatedly use in your various illustrations. Lately starburst effect has been used widely and the technique i used here is quite simple .We will also make use of Gradient and Blur effect while we reach our target.
 Final Result
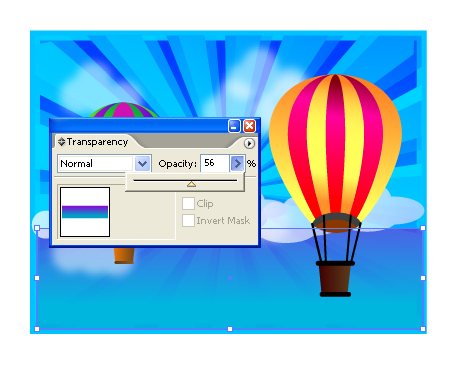
Here is a final preview of our result that we will achieve by the end of this tutorial.

Step 1: Creating the balloon.


Now we want to create the basket i have created one square adjusted its nodes to give it a shape also use Rounded Rectangle tool to create two bars place one as the base of basket transformed to be a little smaller.


Use Line Tool to create ropes for the balloon.

Colour up your sections of the balloon


Create a few copies of the balloon and colour them up differently .

Step 2 : Making the starburst background
First i created a square clicked on one of its nodes and stretched it to create a shape similar to this one.

use the rotate tool and pick up the pointed corner of the stretched square shape to select as the rotation point.

while pressing alt > (creating a copy) move the stretched square beside the first shape drop! Hit CTRL+D couple of times to achieve a similar shape as below.

Create a copy of the starburst displace it from the first one , decreaste the opacity 50%

Draw a rectangle in front of the start burst shapes.

Hit Ctrl+7 (clipping mask) Now place a similar sized rectangle at the back with a significantly strong stroke of a lighter shade.

Step 3 : Creating Clouds
Create a few circles arrange them as they form a cloud shape select all the circles using pathfinder join and expand the shape. Create one copy with a gradient of blue to white reduce transparency to 50%. Create a copy of this shape and using filters and guassian blur , blur it off as seen below

Step 4 :The Arrangement
Create multiple copies of clouds over the horizon and bring in your balloons as well arrange them as seen below

Create another rectangle above the starburst background with Linear Gradient as seen below

Reduce the opacity
Scale the front balloon in order to balance the whole arrangement. Here is the final result of this tutorial.
If you liked this tutorial and would like to be kept posted of future ones Show some Love!


No comments:
Post a Comment