This method allows for viewports to display only v-ray proxies (very light on memory usage), and since you are painting the patches, you can paint more near the camera, and less as you get further into the view where less detail is necessary, allowing for more efficiency. The first part of this tutorial is basically identical to Peter’s and James, and the second half is where I expand a little on the Groundwiz plug-in. Hope you find it useful.
FIRST STEP: CREATE A GRASS STRAND CLUTTER
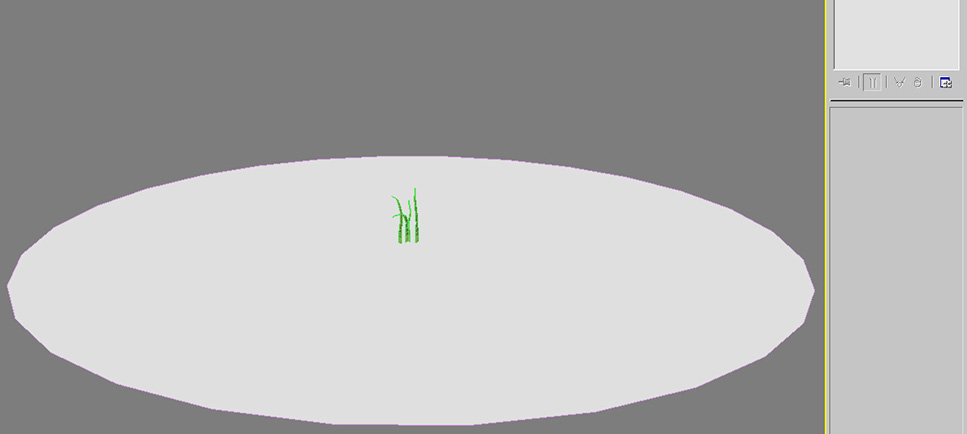
Okay, we will begin by modeling a cluster of 4 or 5 grass strands that we can later use to create a patch. 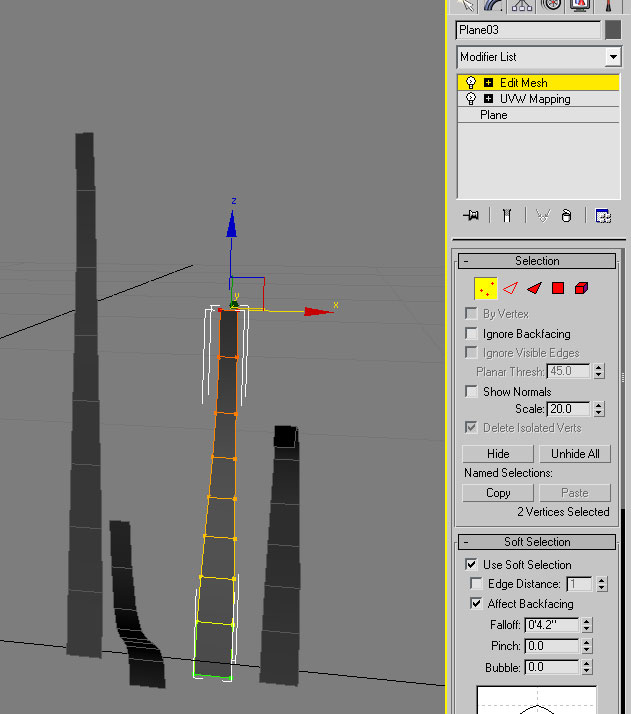
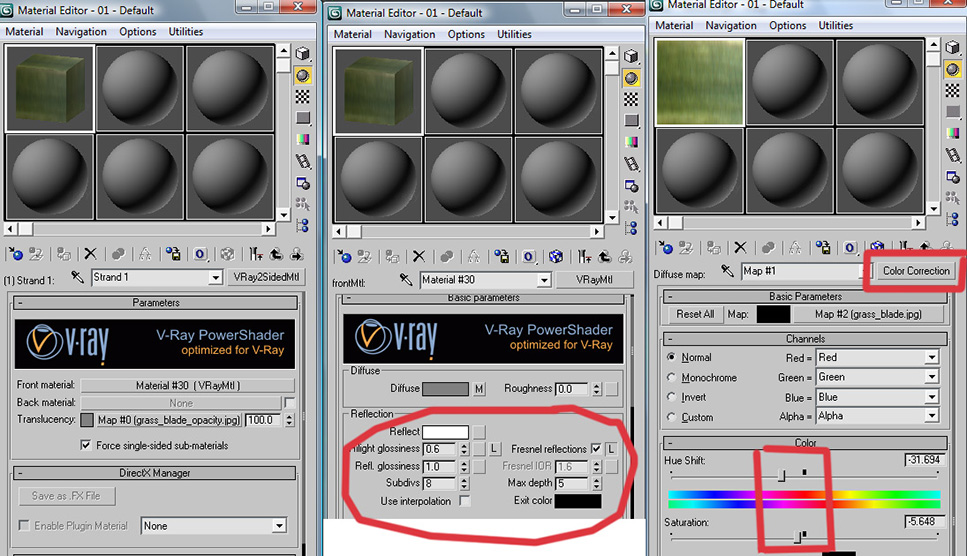
For the next step, you can create your own grass blade texture, or use this one which I created: 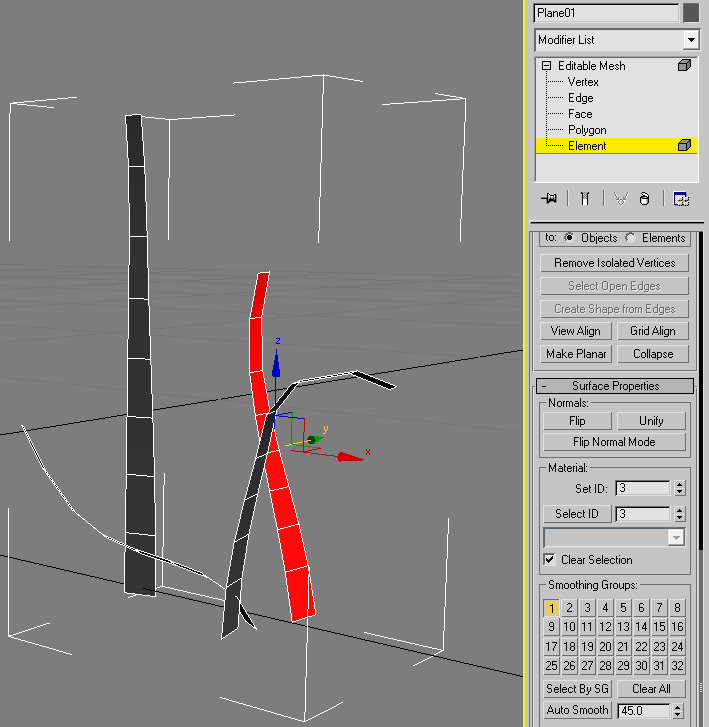


Now we are ready to plant: 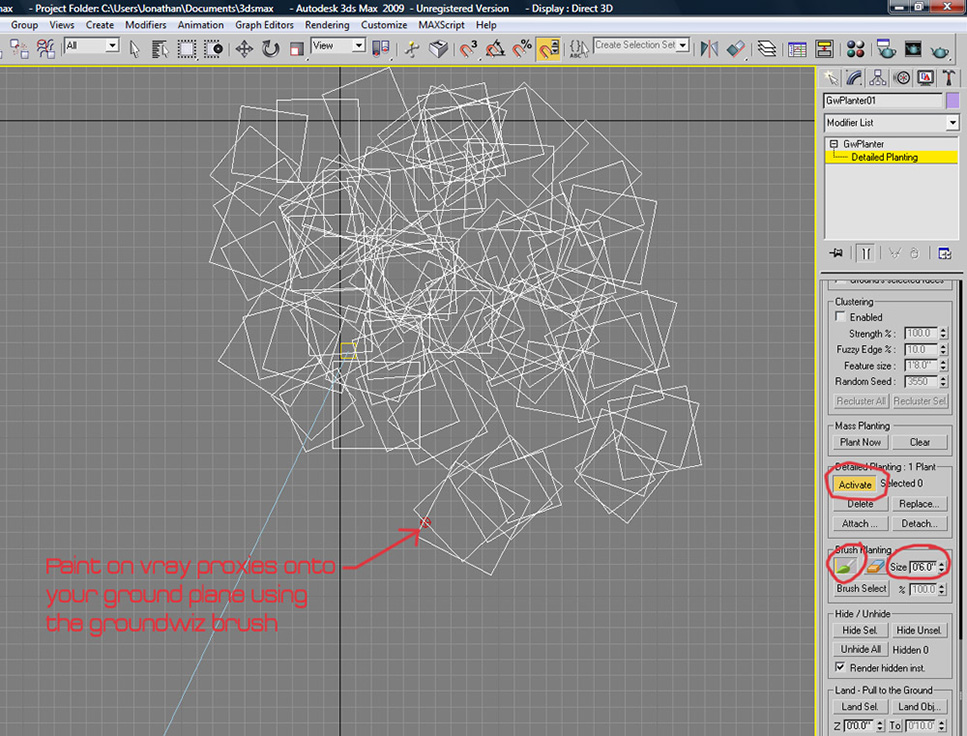

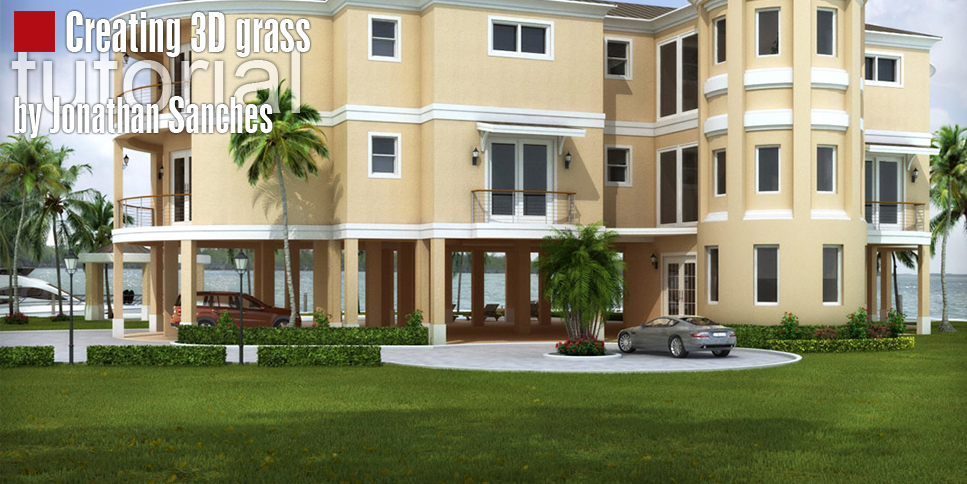
Jonathan Sanchez
24 May 2010
CREATING 3D GRASS
INTRODUCTION
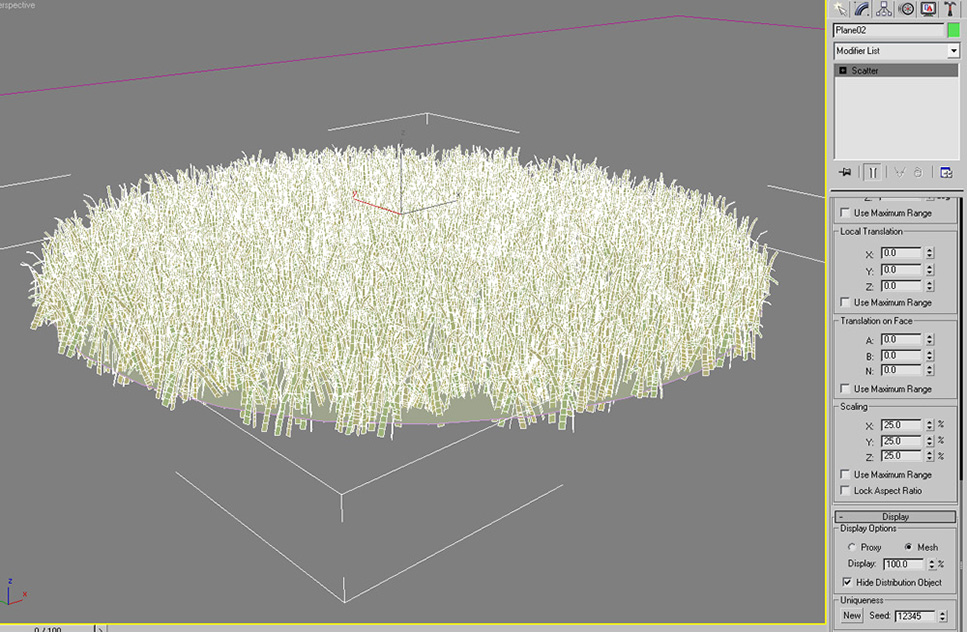
Realistic grass has always been a challenge to create in a 3d environment. Artists have developed many methods to create grass such as post-photoshoping it into the image, using displacement maps to simulate grass strands, or actually modeling 3d grass. It seemed a couple of years ago that displacement mapping was the way to go, but with the recent leaps in processing technology, and the efficiency in high poly rendering of max and renderers such as V-ray, 3d vegetation, including grass, is becoming more and more the prime method for artists worldwide. There are many different ways to go about modeling the grass, and many different ways to go about spreading it. There are recent plug-ins that do the work for you such as “Autograss” by happy digital, ltd. However, as you will see in this tutorial, you might not need to shell out a couple hundred bucks for something you can do yourself once, and re-use on render after render. So I researched various methods taught online, and found an excellent grass tutorial by Peter Guthrie. His method involves creating 3d grass patches and spreading them out as proxies, a method that is creating great results for many. In this tutorial, we will expand on the method of distribution. Using Groundwiz (free plug-in) we will paint the grass patches (proxies) onto the ground. This tutorial is based on the V-ray renderer, but the concept can be used with any other renderer. The basic steps are as follows:SECOND STEP: CREATE PATCH OF GRASS
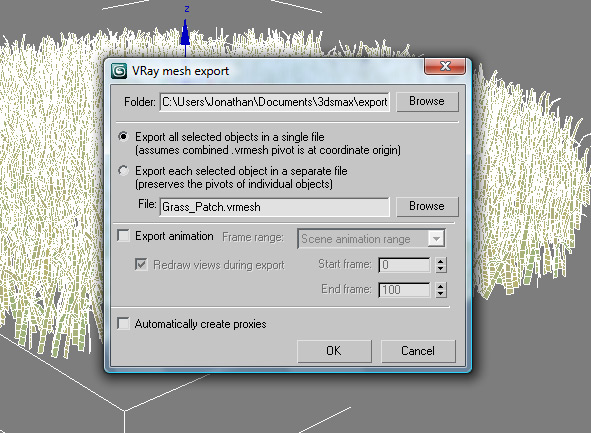
THIRD STEP: CREATE A VRAY PROXY
Now we will convert this patch of grass we created to a v-ray proxy. We can forever use this proxy on all our drawings. If you are not familiar with v-ray proxies, you can find more information here.
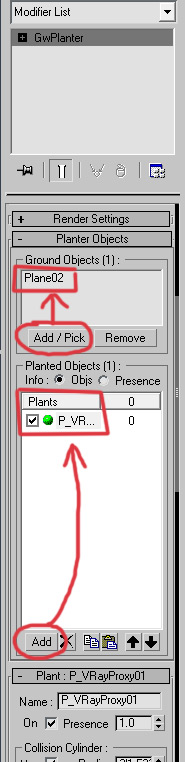
FOURTH STEP: SCATTER THE VRAY PROXY BY PAINTING
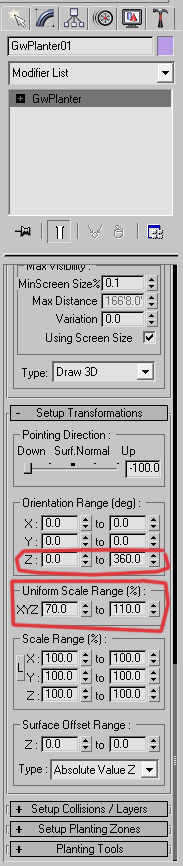
Alright so now we will expand further on the technique of spreading the grass patch by painting the proxies. For this we will use a very nice piece of software called GroundWiz by Gugila. You can download a free version of this software here. Although GroundWiz has many more uses then the one we are giving it, it serves our purpose nicely and it’s very simple to use.
Once done, keep “Detailed Planting” on to allow you to edit your created proxies; you can erase the ones you don’t need and/or move them if need be. Render. You should have something like this:
If you have bald spots, go back and paint proxies in. Also, make sure to give your ground plane some sort of grass texture so that any areas of it visible through the grass can blend in. As you can see, the grass spreads out very nicely and seamlessly. To create a more realistic carpet of grass, you might want to create different patches, some with longer strands and others with shorter strands maybe even flat-looking. You can use this same technique to scatter falling leaves from nearby plants. You can scatter flowers bending in the wind. You can get as creative as you like. Observe real-world grass and you’ll notice that there is great variety of grass styles and shapes. Good thing about this technique is that once you create a patch, you can reuse it however many times you like.
Subscribe to:
Post Comments (Atom)


No comments:
Post a Comment